Working with wax pastels that are water soluble for this little project. I started with a pencil drawing (sort of in the right background, you can see), this is going to be a small wallhanging, so I cut my background fabric larger than the finished product. I would like the finished project to be about 16 X 20. Luckily for me this was a local challenge that the size was dictated as small! Small, I can do!

The upper portion will actually be the walls of a room. Here I am auditioning some fabrics for pieces. When I fuse I try to stay with hand dyes. I don't hand dye myself, but I support other quilters who hand dye. I support them A LOT, a lot more than I actually fuse. The green is a hand dye, obviously the polka dot is not. The background fabric is white PFD (prepared for dyeing) from Dharma Trading Company.

 I have colored in one of the walls, and I made a darker line to make a corner for the walls, at least that was my intention. The fused pieces are not fused down yet, I want to finish the painting part before fusing.


 I am starting to fuse down the individual pieces now. I didn't mean to fuse the line in the center at this point, but, this happened and I had to work around the center line. Sometimes, I'm in a hurry to get to the finished product!
 Detail of quilt wallhanging and shelf. I have a little stuffed owl sitting on my bookshelf in my sewing room, I bought him on Etsy awhile ago. I don't think I'm capable of making one as cute as this. But, maybe, one day, I'll just have to buy all the supplies and see.

This is quilted in this photo. The theme was 'No Place Like Home' which I put on the little sign. Some of the fused pieces were tacked down with stitches before quilting, some with the quilting. I went around the little quilt on the wall with quilt stitches so it pops. The floor lines were stitches before quilting. I showed my husband, he didn't get that it was my room. Big Sigh. I have a cup 'a on the table and my trusty Kindle. I don't really have a chair in this print, but it would be sweet if I did. I will have to trim, bind, and add a sleeve. But this was really a quick project. Took me longer to think about it than put it together. I'm not sure if the table needs a little more on it, but I can still add since it is fusing. 

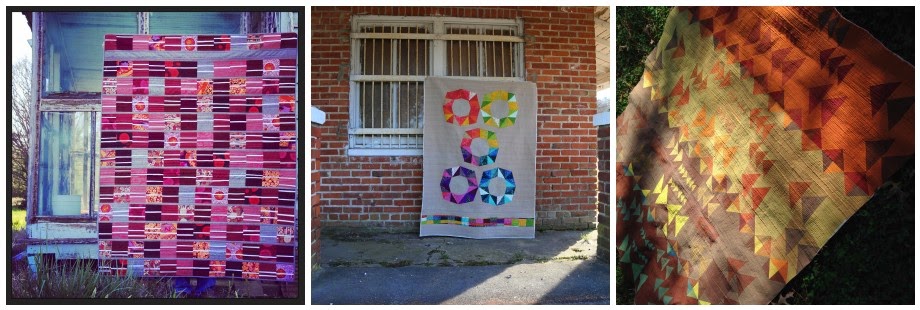
Moving on, I have been eager to get all these darks into a project. I have the perfect quilt in mind, using that circle cutter in the back. Most of these fabrics are Kaffe Fassett, I haven't decided on the neutral, it will be one of these in the front. These are the ones that made the cut. And that shadow again, I'm not sure why it keeps popping up, I'll have to check my camera, but I'm sure it is the operator. 

No comments:
Post a Comment